

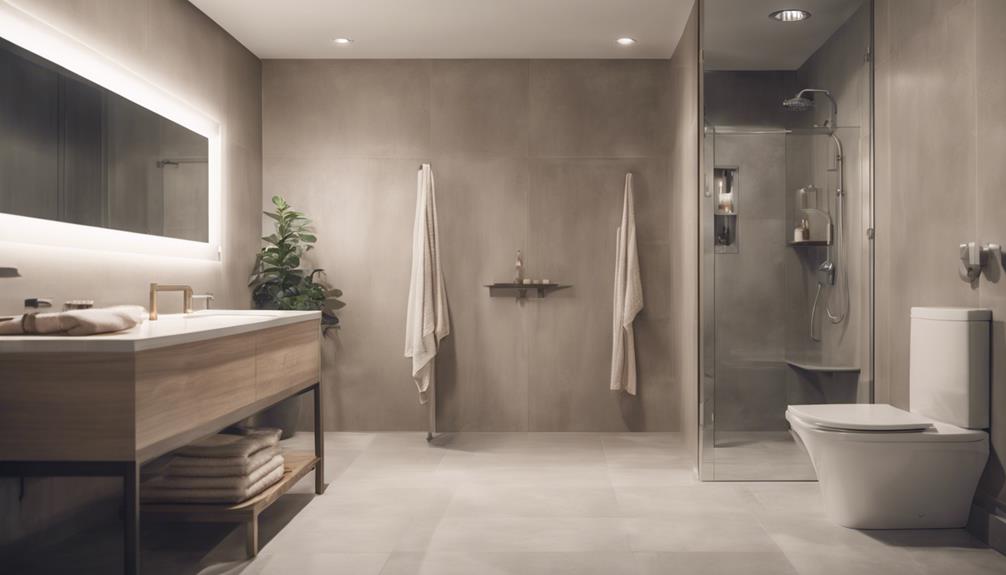
To ensure ADA compliance in your bathroom remodeling project, start by selecting fixtures that are easy to operate with one hand and non-slip tiles to enhance safety. Make sure all amenities, including the sink and vanity, are accessible from a seated position, with sinks mounted no higher than 34 inches and incorporating necessary knee clearance. Install grab bars around the toilet and in the shower, which should offer a roll-in design or transfer seats for easier accessibility. Space planning is critical; ensure clear pathways at least 36 inches wide and a turning radius of at least 60 inches. By following these guidelines, you'll create a space that caters to all needs and discover the nuances of a well-rounded accessible design.
Understanding ADA Requirements
When remodeling a bathroom to meet ADA standards, it's crucial to understand the specific requirements set forth by the Americans with Disabilities Act. You'll need to ensure that all fixtures, controls, and amenities are accessible to individuals with disabilities. This includes selecting faucets, door handles, and flush mechanisms that are easy to operate with one hand, without tight grasping, pinching, or twisting of the wrist.
It's also important to choose surfaces and materials that minimize the risk of slipping. Non-slip tiles and mats can significantly increase safety for users with mobility impairments.
Additionally, you must consider the placement and height of amenities like soap dispensers, towel racks, and mirrors. They should be within easy reach from a seated position to accommodate wheelchair users.
Lighting plays a crucial role as well. You'll want to provide ample, glare-free lighting that enhances visibility for all users, especially those with visual impairments. Remember, thoughtful adjustments not only comply with legal requirements but also ensure a functional, comfortable environment for everyone.
Minimum Space Requirements
After ensuring your bathroom's fittings and surfaces accommodate those with disabilities, it's equally important to address the layout's minimum space requirements. You'll need to ensure there's enough room for a wheelchair to maneuver comfortably. This means providing a clear floor space of at least 30 inches by 48 inches in front of each bathroom fixture. This space allows someone using a wheelchair to approach and use each fixture without difficulty.
Additionally, it's essential to maintain an accessible route within the bathroom. This route should be at least 36 inches wide to allow for easy passage.
If your bathroom layout includes any turns, you must guarantee that the turning radius is at least 60 inches in diameter, which is sufficient for a wheelchair to turn 180 degrees.
Accessible Sink and Vanity Design
Most accessible sink and vanity designs prioritize ease of use and safety, ensuring they cater effectively to individuals with disabilities. When you're planning your bathroom remodel, it's crucial to choose sinks and vanities that comply with the Americans with Disabilities Act (ADA) guidelines to accommodate everyone comfortably.
Firstly, the sink should be mounted no higher than 34 inches from the floor, and it must have a knee clearance of at least 27 inches high, 30 inches wide, and 19 inches deep. This ensures that someone in a wheelchair can approach and use the sink without any hindrance.
Secondly, consider the faucet placement. Lever-type handles or touchless faucets are ideal because they're easier to operate, especially if you have limited hand strength or dexterity. Also, ensure the pipes under the sink are insulated or covered to prevent potential burns—a detail often overlooked.
Lastly, the mirror above the vanity should be positioned to reflect both standing and seated users. Adjustable mirrors are optimal, but fixed mirrors should be installed with the centerline at 40 inches above the floor.
Incorporating these features not only makes your bathroom safer and more accessible but also enhances overall functionality and comfort for everyone.
Shower and Bathtub Modifications
In transforming your bathroom to meet ADA standards, consider the essential modifications for showers and bathtubs to enhance accessibility. You'll need to ensure that these areas are both user-friendly and compliant with legal requirements.
Firstly, any shower in your bathroom should be roll-in with a minimum size of 30 inches by 60 inches, allowing wheelchair access. If space permits, a larger shower can make maneuvering easier. Install grab bars strategically to aid in stability and transfers. These must be sturdy, well-placed, and able to support significant weight.
For bathtubs, consider a walk-in model or one with a transfer seat. The tub's controls should be within easy reach, and you might want to add a handheld showerhead to provide flexibility and autonomy for users with limited mobility. Anti-slip flooring is crucial in both showers and bathtubs to prevent accidents.
Toilet Area Compliance Features
For your bathroom to meet ADA compliance, special attention must be given to the toilet area. This means thinking beyond just the placement and height of the toilet; it's about ensuring that all features are accessible to everyone, including those with disabilities.
Firstly, the height of the toilet should be between 17 to 19 inches from the floor to the top of the seat. This range allows easier access for wheelchair transfers.
You'll also need to install grab bars. These should be placed on the wall closest to the toilet at a height that's usable for all, typically around 33 to 36 inches from the floor. Make sure they're sturdy enough to support at least 250 pounds.
Additionally, the space around the toilet is crucial. You should aim for at least 56 inches of space from the rear wall and a minimum of 16 to 18 inches of clear space on the side of the toilet. This ensures enough room for maneuvering a wheelchair or other mobility devices.
Flooring and Surface Safety
After ensuring the toilet area meets ADA compliance, your next focus should be on the flooring and surface safety of the bathroom. You'll need to select materials that minimize the risk of slips and falls. Opt for slip-resistant flooring that maintains traction even when wet. This isn't just about selecting the right material; it's also about proper installation and maintenance to ensure ongoing safety.
Consider the use of textured tiles or vinyl that's designated as slip-resistant. If you're unsure about the slip resistance rating, look for products certified by the National Floor Safety Institute (NFSI). It's also crucial to avoid abrupt changes in flooring levels, which can pose a tripping hazard. Transition strips should be flush and secure to ensure wheelchair and walker stability.
Additionally, ensure there's enough contrast in color and brightness between flooring, walls, and fixtures to aid those with visual impairments. Lighting plays a key role here—it should be evenly distributed to eliminate shadows and glares that could affect visibility.
Lastly, keep the floor clear of any obstacles that might impede movement. Regular checks for wear and tear on the flooring are essential to maintain its safety features. Ensuring these elements can make a significant difference in the safety and accessibility of your bathroom.
Grab Bars and Support Equipment
Next, you'll need to consider the installation of grab bars and other support equipment. These features are crucial for ensuring safety and accessibility in your bathroom. When selecting grab bars, opt for ones that can support at least 250 pounds of weight. They should be both sturdy and slip-resistant.
You'll want to position grab bars next to the toilet, in the shower, and near the bathtub. The height and placement will vary depending on the specific needs of the user, but generally, grab bars should be installed between 33 and 36 inches from the floor.
For showers, consider vertical bars near the entrance for easy access and horizontal bars along the walls for support while bathing.
Additionally, think about installing a shower seat. This can be either built-in or removable, but make sure it's positioned at a comfortable height and is easily accessible.
Lastly, don't overlook the toilet area. A higher toilet seat can aid in accessibility, and placing grab bars on both sides can provide much-needed support for both sitting and standing. This setup not only enhances safety but also promotes independence in the bathroom.
Doorway Width and Access
While ensuring the bathroom is equipped with grab bars and support equipment, you should also focus on the accessibility of entering and exiting the space. The doorway width is critical in making sure that anyone, regardless of mobility device, can access the bathroom easily. According to the Americans with Disabilities Act (ADA), bathroom doorways in public facilities must be at least 32 inches wide when the door is open at 90 degrees. This ensures enough space for wheelchairs and other mobility aids.
You'll want to consider the door's swing as well; it shouldn't obstruct the bathroom's interior space. Opt for outward swinging doors or pocket doors to maximize the usable area inside.
Moreover, the type of handle matters. Lever handles, which don't require tight grasping or twisting, are ideal for accessibility.
It's not just about meeting legal requirements—you're creating a space that's usable for everyone. Ensuring the door is wide enough and easy to operate can make a significant difference in the functionality of the bathroom, enhancing comfort and independence for users with disabilities. So, you must consider these factors seriously to make your bathroom remodeling project a success in terms of accessibility.
Emergency Response Features
In addition to doorway modifications, incorporating emergency response features into your bathroom remodel enhances safety for all users, especially those with disabilities. You'll find that adding elements like emergency pull cords or accessible panic buttons can make a significant difference. These should be placed within easy reach from the toilet and shower areas, ensuring that help is just a pull or push away in case of a fall or other emergencies.
Consider installing a visual alert system alongside audible alarms to accommodate those with hearing impairments. This dual approach ensures that everyone, regardless of their ability to hear, is alerted to potential dangers.
You might also want to think about integrating a phone or intercom system that's reachable from the floor level, providing a direct line to assistance if needed.
Don't overlook the importance of clear signage in your bathroom. Signs should indicate the location and operation of emergency features. Use high-contrast colors and large, readable fonts to aid visibility for everyone, including those with visual impairments.
Frequently Asked Questions
How Often Should ADA Compliance Be Re-Evaluated in Bathrooms?
You should re-evaluate ADA compliance in bathrooms every 5 years or when significant updates are made. This ensures all modifications meet current standards and remain accessible for everyone. Stay updated with any legal changes.
Are There ADA Requirements for Bathroom Lighting?
Yes, there are specific requirements for bathroom lighting under the ADA. You'll need to ensure that lighting is evenly distributed and provides enough lumens to accommodate visibility for all users.
What Are Common ADA Compliance Mistakes in Bathroom Remodeling?
You'll often see mistakes like improper door widths, inadequate turning space, or incorrect grab bar placement. It's crucial to check dimensions and hardware against the standard requirements to avoid these issues.
How Does ADA Compliance Impact Bathroom Aesthetics?
ADA compliance doesn't have to compromise your bathroom's style! You'll find that accessible features can be sleek and modern, blending seamlessly with any aesthetic while ensuring comfort and safety for everyone.
Can ADA Compliant Bathrooms Also Be Environmentally Friendly?
Yes, you can design ADA compliant bathrooms that are also environmentally friendly. Incorporating green materials and energy-efficient fixtures reduces your environmental impact while maintaining accessibility and safety for all users.
Conclusion
Now that you're familiar with ADA compliance for bathroom remodeling, you've got the tools to make your project inclusive and safe. Ensure your space meets minimum requirements, from accessible sinks to proper grab bars. Don't overlook the importance of safe flooring and wide doorways. By integrating these elements, you're not just following the law; you're creating a welcoming environment for everyone. So, go ahead, apply what you've learned and make your bathroom accessible to all!
Related articles: 7 Best Practices for ADA Bathroom Remodel Compliance · Why Comply With OSHA Standards in Bathroom Remodeling? · 3 Key OSHA Standards for Construction Site Safety






Leave a Reply